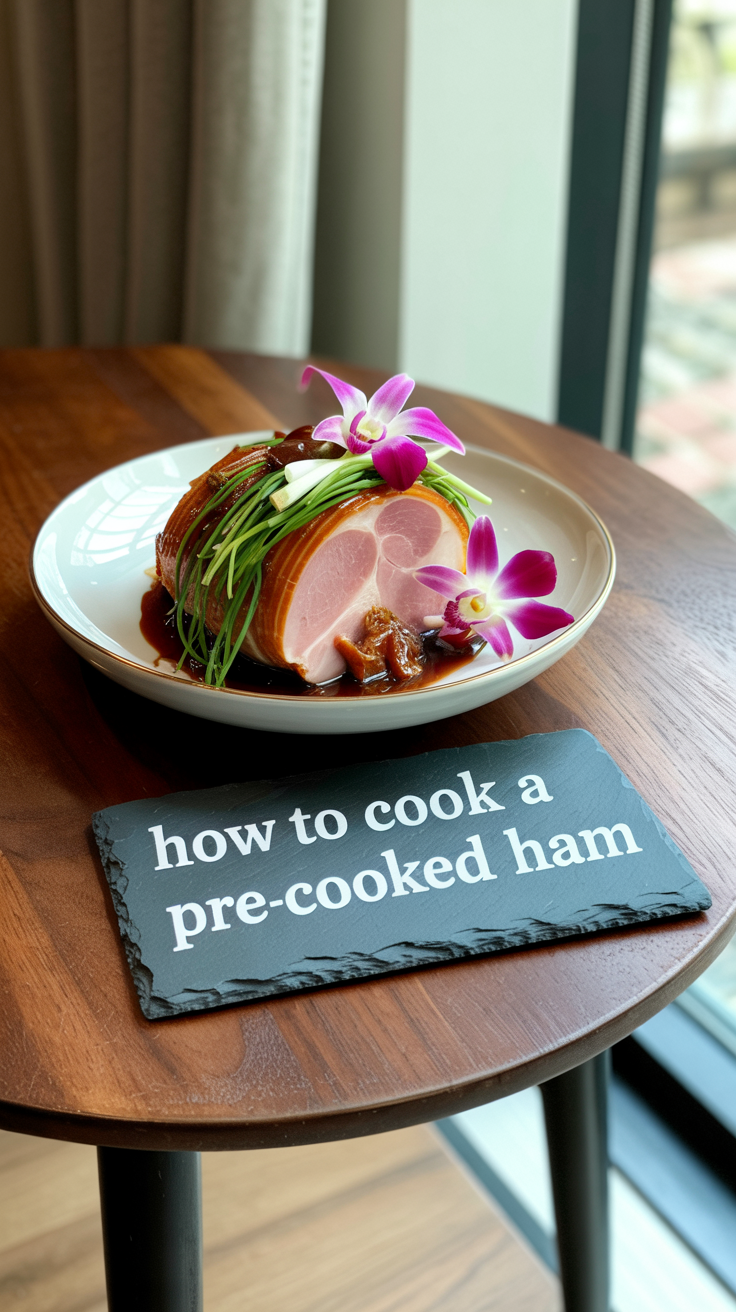

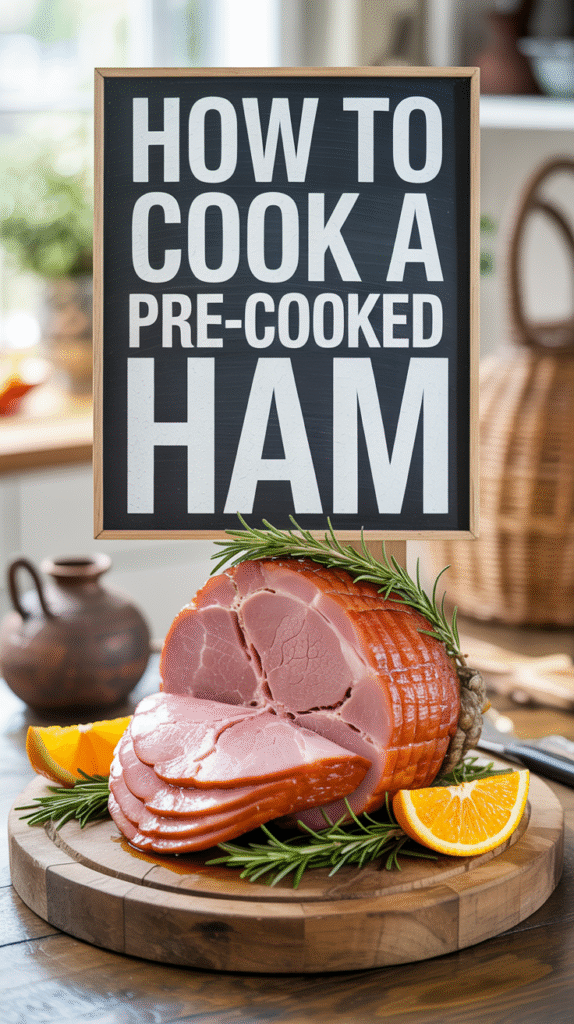
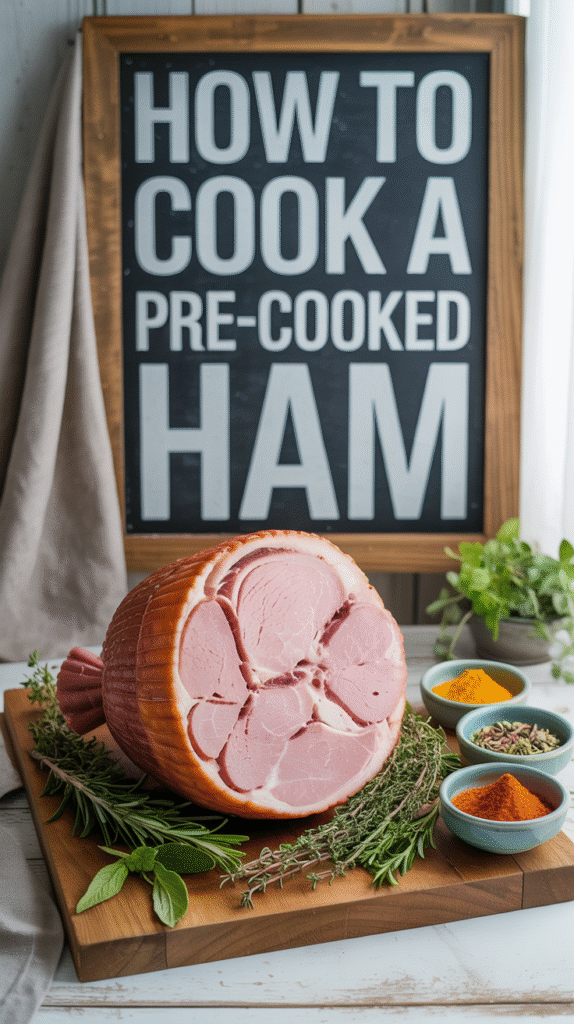
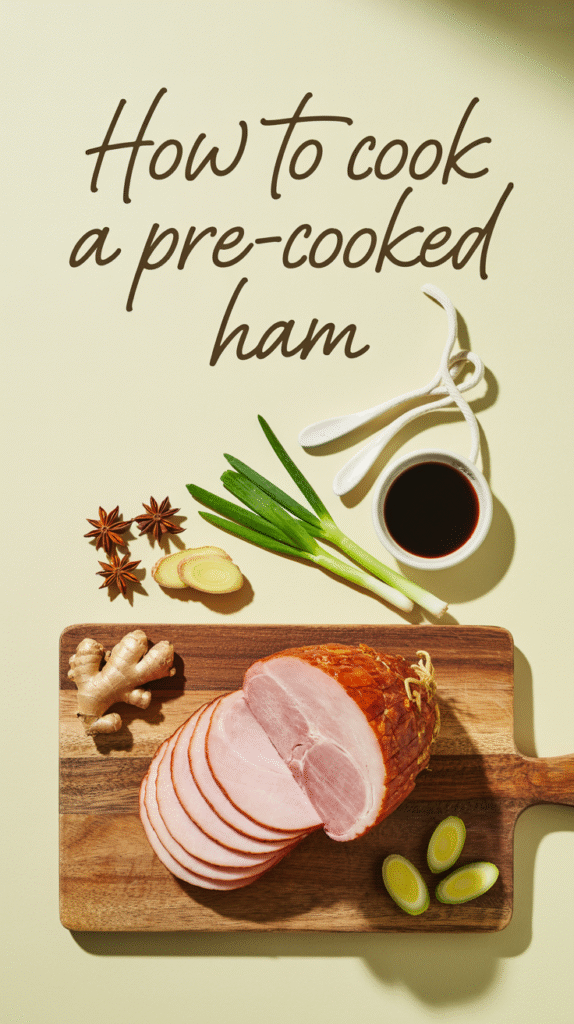
Cooking a 10 lb fully cooked ham is a straightforward task, but knowing the optimal cooking times can ensure that your meal turns out juicy and delicious. While the ham is already cooked, reheating it properly is essential to enhance its flavors and maintain its moisture. Here’s how you can achieve the best results.
When determining how long to cook a 10 lb fully cooked ham, the primary method is to use the oven. This method is favored because it promotes even heating and allows the delicious glaze to caramelize while maintaining the ham’s juiciness. The recommended time for reheating a fully cooked ham is approximately 10 to 12 minutes per pound.
Here’s a breakdown of the steps for cooking a 10 lb fully cooked ham:
- Preheat your oven: Set your oven to 325°F (162°C).
- Prepare the ham: If the ham has a rind, you can score it with a knife in a diamond pattern. This helps the glaze to penetrate and adds texture.
- Glazing (optional): If you want to add a glaze, combine ingredients based on your recipe preferences. Common choices include brown sugar, honey, or maple syrup mixed with mustard or vinegar.
- Wrap the ham: Use aluminum foil to cover the ham tightly. This helps keep moisture in and prevents excessive browning.
- Cook: Place the ham in the oven and cook it for 10 to 12 minutes per pound. For a 10 lb ham, aim for about 1 hour and 40 minutes to 2 hours.
- Check the temperature: The internal temperature should reach at least 140°F (60°C) for safety.
- Rest before slicing: Let the ham sit for around 20 minutes post-cooking to allow the juices to redistribute.
If you’re short on time or would like to try a different approach, microwaving is another option. However, it’s essential to note that microwaving may not yield the same moistness and flavor. If you choose to microwave your fully cooked ham, here’s a short guide:
- Slice the ham into portions to ensure even reheating.
- Place the portions in a microwave-safe dish and cover them with a lid or microwave-safe wrap to retain moisture.
- Microwave on medium power, reheating for about 2-3 minutes per portion, checking frequently.
Using a slow cooker is another excellent alternative for those who prefer hands-off cooking. This method is perfect if you want to infuse more flavors from your glaze and seasonings:
- Place the ham in the slow cooker, ensuring it fits comfortably.
- Pour your glaze or seasonings over the top.
- Cover and cook on low for around 5 to 6 hours or on high for 2 to 3 hours, ensuring the meat reaches at least 140°F (60°C).
Cooking Tips:
- For optimal flavor, allow your ham to come to room temperature before cooking.
- Use a meat thermometer to check the internal temperature for safety.
- If using a glaze, apply it during the last 30 minutes of cooking for the best results.
For more insights and detailed cooking instructions, visit Food Network which provides excellent recipes and tips. If you want to explore various cooking methods and their times, you can check King Arthur Baking for a reliable guide.
Remember, the goal of reheating a fully cooked ham is to enhance its already delightful flavors while ensuring it is safe to eat. Enjoy your flavorful, perfectly cooked ham by following these guidelines!
Tips for Enhancing Flavor in Already Cooked Ham
When you have a fully cooked ham, you may want to enhance its flavor before serving. Whether it’s for a special occasion or a simple family dinner, these tips will help you elevate the already delicious taste of your ham.
Understanding the Basics of Flavor Enhancement
Before diving into specific techniques, it’s important to know what culinary elements contribute to flavor. A good balance of sweet, salty, and umami can turn an ordinary ham into a delightful centerpiece. Here are some foundational tips.
Glazing Your Ham
One of the best ways to boost flavor is by applying a glaze. Here are some options you can consider:
- Honey or Maple Syrup: Adds a sweet and sticky finish.
- Brown Sugar: Creates a caramelized crust when baked.
- Dijon Mustard and Orange Juice: Offers a zesty flavor that complements the saltiness of the ham.
To apply the glaze, brush it on about 30 minutes before the ham is done, allowing it to form a delicious outer layer.
Using Spices and Herbs
Another effective method is to sprinkle spices or fresh herbs over your ham. Here are some favorites:
- Black Pepper: A classic choice that adds a slight bite.
- Thyme: Provides an earthy flavor that pairs well with ham.
- Cloves: Often used in combination with sweet glazes for depth.
Simply rub your desired seasonings all over the surface of the ham before you heat it. This allows the flavors to meld as it warms.
Cooking with Broth
For a succulent and moist experience, consider cooking your ham with broth. Here’s how to do it:
- Choose a flavorful broth like chicken or vegetable.
- Add aromatic vegetables like onions, carrots, and celery to the pot.
- Cook your ham on low heat, making sure it absorbs the broth’s flavors throughout the process.
This method not only enhances the flavor but also keeps the ham juicy.
Pairing with Sides and Accompaniments
What you serve with your ham can significantly impact its flavor profile. Consider these pairing options:
- Sweet Potatoes: Their natural sweetness complements the saltiness of the ham.
- Grilled Asparagus: Adds a fresh, earthy contrast.
- Cranberry Sauce: The tartness balances the richness of the meat.
Don’t forget to think about sauces and dressings. A cheesy sauce or a tangy mustard sauce can transform the flavor experience.
Experimenting with Different Cook Times
While the ham is fully cooked, sometimes a bit of extra cooking can enhance its flavor, allowing the glaze and spices to penetrate deeper.
- Warm the ham at 325°F (163°C) if it’s not sliced.
- Check for doneness after about 15-20 minutes per pound.
- Always use a meat thermometer to ensure the interior reaches at least 140°F (60°C).
Consider Unique Flavor Infusions
Try infusing flavors by asking yourself some questions:
- Do you want a smoky flavor? Incorporate liquid smoke or smoked paprika.
- Prefer a sweeter taste? Experiment with fruit juices like pineapple or apple cider.
- Looking for a bit of heat? Add a touch of cayenne pepper or hot sauce.
Infusing flavors can be personal, so feel free to mix and match what appeals to your palate.
Resources for Flavor Enhancements
If you’re eager to learn more about cooking techniques and recipes, explore these resources:
- Epicurious: Offers a variety of recipes and cooking tips.
- Food Network: A wealth of ideas from celebrity chefs and home cooks alike.
- AllRecipes: Find user-generated recipes that can help boost flavors dynamically.
Enhancing the flavor of a fully cooked ham is simple and fun with the right techniques and ingredients. Enjoy the process, and your ham will surely impress everyone at the table!
Safe Temperature Guidelines for Serving Ham
When serving ham, ensuring the proper temperature is crucial for both safety and flavor. The USDA recommends cooking ham to specific internal temperatures to eliminate harmful bacteria and enhance its taste. Knowing the right temperatures will help you serve your ham confidently.
Understanding Safe Cooking Temperatures
Ham can come in various forms, each with different temperature guidelines. Here’s a quick overview of temperature requirements:
| Type of Ham | Safe Minimum Internal Temperature |
|---|---|
| Fully Cooked Ham | 140°F (60°C) |
| Cook-In-Bag Ham | 140°F (60°C) |
| Fresh Ham | 145°F (63°C) followed by a rest time of 3 minutes |
| Reheated Ham | 165°F (74°C) |
Why Is Internal Temperature Important?
Cooking ham to the correct internal temperature is essential for food safety. Undercooked ham can harbor bacteria such as Salmonella and Listeria, which can lead to serious foodborne illnesses. On the other hand, overcooking can cause the ham to dry out, making it less enjoyable to eat. Therefore, using a food thermometer can make a significant difference.
How to Check the Temperature
To accurately check the internal temperature of your ham:
- Use a food thermometer that can measure to a precision of at least 1°F.
- Insert the thermometer into the thickest part of the ham, avoiding bones and fat.
- Wait for a few seconds until the temperature stabilizes for an accurate reading.
Resting Period for Ham
If you’re cooking a fresh ham, it’s essential to let it rest for at least three minutes after removing it from the oven or grill. This resting time allows the temperature to equalize throughout the meat, which enhances flavor and juiciness.
Serving Tips for Ham
Here are some helpful serving tips to keep in mind:
- Keep cooked ham at an internal temperature of at least 140°F (60°C) when serving.
- If cooking ham ahead of time, store it in the refrigerator and ensure it’s properly wrapped to prevent contamination.
- Reheat leftovers to 165°F (74°C) before serving.
Storing Leftover Ham
After your meal, any leftover ham should be handled with care. Cool any leftovers as soon as possible, ideally within two hours. Store them in airtight containers or tightly wrapped to maintain freshness. Leftover ham can be safely stored in the refrigerator for up to three to five days.
Further Resources
For more detailed guidance on ham preparation, consider visiting reputable sources like:
- USDA Food Safety and Inspection Service
- FoodSafety.gov – Safe Cooking Guidelines
- CDC – Food Safety Information
By following these guidelines and understanding safe temperature protocols, you can confidently serve your ham, ensuring it is not only delicious but also safe for you and your guests to enjoy. Always prioritize food safety to make your meal relaxed and enjoyable.
Creative Leftover Recipes Using Ham
Ham is a delicious centerpiece for many special occasions, but leftovers often loom over the joyful feast. Instead of letting that tasty meat go to waste, why not transform your leftovers into creative dishes? Here are some innovative recipes that will help you make the most of your leftover ham, ensuring every bite is packed with flavor.
Ham and Cheese Breakfast Casserole
This hearty breakfast option is perfect for using up ham while serving a delicious start to your day. You can easily prepare it the night before and bake it in the morning.
- 4 cups of bread, cubed
- 2 cups of diced leftover ham
- 1 cup of shredded cheese (cheddar or Swiss)
- 6 eggs
- 2 cups of milk
- 1 teaspoon of Dijon mustard
- Salt and pepper to taste
Preheat your oven to 350°F (175°C). In a large bowl, mix the bread, ham, and cheese. In another bowl, whisk together the eggs, milk, mustard, salt, and pepper. Combine both mixtures in a greased baking dish. Bake for 35-40 minutes until the center is set. Enjoy with a drizzle of maple syrup or hot sauce.
Ham and Potato Soup
This comforting soup will warm you up on a chilly day. With just a few ingredients, you can create a creamy dish that celebrates leftover ham.
- 2 cups of diced ham
- 4 medium potatoes, diced
- 1 onion, chopped
- 3 cups of chicken broth
- 1 cup of heavy cream
- Salt, pepper, and herbs (like thyme or parsley)
In a large pot, sauté the onions until translucent. Add the potatoes and broth, simmering until the potatoes are tender. Stir in the ham and cream, seasoning to your liking. Simmer for an additional 10 minutes, and serve hot with crusty bread.
Ham Fried Rice
An excellent way to utilize leftover rice and ham is by making a flavorful fried rice dish. It’s quick to prepare and perfect as a side or main dish.
- 2 cups of leftover rice
- 1 cup of diced leftover ham
- 2 eggs, beaten
- 1 cup of mixed vegetables (like peas, carrots, and corn)
- 3 tablespoons of soy sauce
- Green onions for garnish
In a pan, scramble the eggs and set aside. Stir-fry the mixed vegetables and ham, then add the rice and soy sauce. Toss in the scrambled eggs, mixing everything well. Garnish with green onions before serving.
Ham and Cheese Stuffed Peppers
This colorful dish is not only visually appealing but also incredibly tasty. Stuffed peppers provide a fun and healthy base for your ham leftovers.
- 4 bell peppers, halved and seeded
- 2 cups of diced ham
- 1 cup of cooked rice or quinoa
- 1 cup of cheese (your choice)
- 1 can of diced tomatoes
- Spices: chili powder, cumin, or your favorite herbs
Preheat your oven to 375°F (190°C). Mix the ham, rice/quinoa, cheese, tomatoes, and spices in a bowl. Stuff each pepper half with the mixture and place them in a baking dish. Cover with foil and bake for 25-30 minutes, then remove the foil and bake for an additional 10 minutes to melt the cheese.
Ham Salad Sandwiches
For an easy lunch or snack idea, whip up a delicious ham salad. It’s simple, quick, and perfect for using smaller leftover pieces of ham.
- 1 ½ cups of chopped ham
- ¼ cup of mayonnaise
- 1 tablespoon of mustard
- 1 celery stalk, finely chopped
- Salt and pepper to taste
- Toast or sandwich bread of your choice
Combine the chopped ham, mayonnaise, mustard, celery, salt, and pepper in a bowl. Mix well and serve on toast or in a sandwich with lettuce and tomatoes for extra crunch.
By exploring these creative leftover ham recipes, you can elevate your meals and reduce waste. Each dish offers a unique twist that will inspire your culinary adventures. For more inspiration and recipes, check out Food Network and AllRecipes.
Common Mistakes to Avoid When Cooking Ham
When it comes to cooking ham, it’s easy to make mistakes that could lead to a less-than-perfect meal. Whether you are preparing for a holiday feast or a casual dinner, avoiding common pitfalls can enhance the flavor and texture of your dish. Here are some mistakes to steer clear of when cooking ham.
Not Understanding the Type of Ham
Before cooking, it’s crucial to know what type of ham you have. Hams can be categorized as fully cooked, partially cooked, or raw. Fully cooked hams, like the spiral-cut variety, require less cooking than raw hams. If you’re not sure, check the packaging or consult a trusted source, such as the Meat & Poultry.
Incorrect Cooking Time
Cooking a ham for too long can dry it out, while undercooking can leave it unsafe to eat. For a 10 lb fully cooked ham, a general guideline is to heat it in the oven at 325°F for about 10-12 minutes per pound. This means you should plan for a heating time of approximately 1 hour and 40 minutes to 2 hours. Always use a meat thermometer to check the internal temperature, which should reach 140°F for fully cooked hams. This will ensure that your ham is warm enough while retaining its moisture.
| Type of Ham | Cooking Time (per lb) | Internal Temp (°F) |
|---|---|---|
| Fully Cooked | 10-12 mins | 140 |
| Partially Cooked | 18-20 mins | 145 |
| Raw | 20-25 mins | 145 |
Failing to Moisturize
Even fully cooked hams benefit from a bit of moisture during reheating. Utilizing a glaze made from brown sugar, honey, or maple syrup can enhance flavor and provide a lovely crust. Consider wrapping the ham in foil for the initial cooking time to trap steam and keep it juicy. Another option is to place a roasting pan full of water in the oven during the cooking process, which adds humidity and flavor.
Overlooking Resting Time
Once your ham is cooked, resist the temptation to slice it open right away. Let it rest for at least 15 minutes. Resting allows the juices to redistribute, resulting in a more succulent ham. This is a crucial step that many home cooks overlook, and it can significantly affect the final presentation and taste.
Not Avoiding Cross-Contamination
Cross-contamination is a serious concern in the kitchen. Always use separate cutting boards and utensils for raw meat and cooked items. Ensure hands and surfaces are washed thoroughly to prevent the spread of bacteria. Following proper food safety guidelines not only ensures a delicious meal but also keeps you and your guests safe.
Rushing the Glazing Process
A common oversight is to rush the glazing process. A glaze should be applied during the last 30 minutes of cooking to form a sticky, caramelized layer. If you apply it too early, it may burn or become too thick. To get the most from your glaze, brush it on several times as the ham cooks, allowing it to build flavor.
Ignoring the Serving Temperature
After cooking, let your ham cool to room temperature before serving. Serving ham too hot may not showcase its flavor as well as it could. Allowing it to sit briefly enhances the taste experience. Aim for a comfortable serving temperature of around 130°F to 140°F.
Neglecting Leftovers
Don’t forget about the leftovers! If you have extra ham, store it properly. Wrap it tightly in foil or an airtight container and consume within a few days. Ham can also be frozen for future enjoyment. However, ensure to label it with the date to maintain freshness. For more information on food storage, visit the USDA Food Safety and Inspection Service.
Avoiding these common mistakes when cooking ham will transform your dish into a moist, flavorful centerpiece for any occasion. With a bit of preparation and attention to detail, you’ll create a memorable meal that everyone will enjoy.
Conclusion
Cooking a 10 lb fully cooked ham can be a delightful experience, especially when you understand the optimal cooking times required to ensure delicious outcomes. Remember to target an internal temperature of at least 140°F for safe serving. While simply heating your ham is enough, don’t hesitate to enhance its flavor with glazes or seasonings. A touch of brown sugar, honey, or mustard can elevate the taste, adding a special flair to your dish.
Post-meal, consider the versatility of any leftovers. From savory ham sandwiches to hearty soups and casseroles, there are countless creative recipes that can turn your extra ham into delightful new meals. This not only minimizes waste but also maximizes the enjoyment of your culinary efforts.
As you prepare your ham, be mindful of common pitfalls such as overcooking or under-seasoning, which can dampen your celebration. Properly reheating the ham will keep it moist, while creative presentation can impress your guests. By following these key steps, you can ensure that your fully cooked ham shines as the centerpiece of your meal, providing warmth and flavor that bring everyone to the table. Enjoy making cherished memories around your deliciously prepared ham while keeping these insights in mind for a successful culinary endeavor!