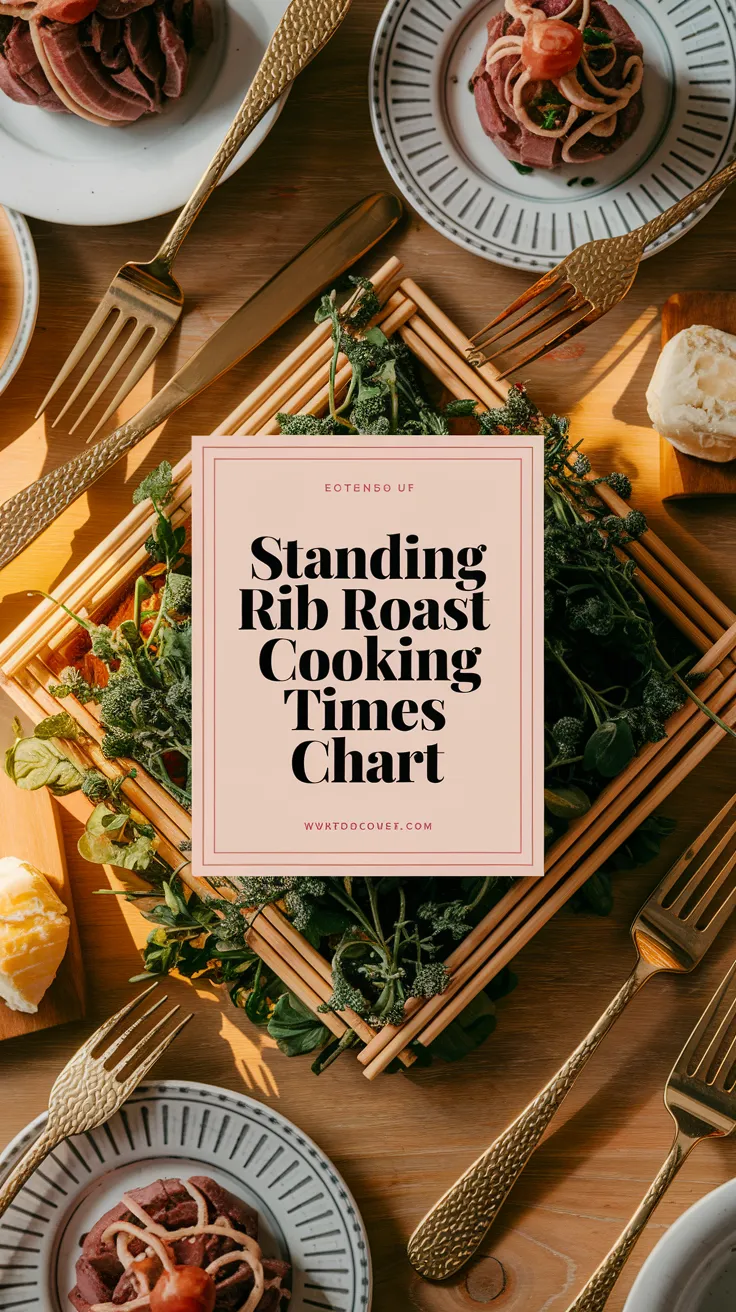

If you’re planning to cook a standing rib roast, understanding cooking times and how they affect the outcome of your dish is crucial. A well-cooked standing rib roast is juicy, tender, and flavorful, making it the centerpiece of any special meal. Here’s a straightforward guide to help you understand the cooking times for different levels of doneness.
Cooking Times Chart
The cooking time for a standing rib roast varies based on its weight and the desired degree of doneness. Below is a chart that provides estimated cooking times for a perfect roast:
| Weight of Roast (lbs) | Rare (125°F) | Medium Rare (135°F) | Medium (145°F) | Medium Well (150°F) | Well Done (160°F) |
|---|---|---|---|---|---|
| 3 | 1.5 hours | 1.75 hours | 2 hours | 2.25 hours | 2.5 hours |
| 4 | 2 hours | 2.25 hours | 2.5 hours | 2.75 hours | 3 hours |
| 5 | 2.25 hours | 2.5 hours | 2.75 hours | 3 hours | 3.25 hours |
| 6 | 2.5 hours | 2.75 hours | 3 hours | 3.25 hours | 3.5 hours |
| 7 | 2.75 hours | 3 hours | 3.25 hours | 3.5 hours | 3.75 hours |
These times are based on roasting at a temperature of 325°F. Remember, the key is to take the roast out of the oven when it’s about 5°F below your target temperature. The roast will continue cooking a bit after you remove it, a process known as carryover cooking.

Factors Affecting Cooking Time
Several factors can affect how long your standing rib roast takes to cook:
- Starting Temperature: If your roast is at room temperature before cooking, it will cook more evenly and may take slightly less time.
- Oven Calibration: Ensuring your oven is calibrated correctly can prevent undercooking or overcooking.
- Use of a Meat Thermometer: This tool is your best friend. Different cuts of meat may have varied cooking times, so checking the internal temperature ensures accuracy.
Resting the Roast
After cooking, always let your standing rib roast rest covered with aluminum foil for at least 20-30 minutes. This allows the juices to redistribute throughout the meat, resulting in a moister and more flavorful roast. If you slice too early, you’ll lose a lot of those delicious juices.
Additional Tips for Perfection
To elevate your standing rib roast, consider these advanced cooking strategies:
- Season Generously: Use a rub with salt, pepper, garlic, and herbs to develop a beautiful crust.
- Reverse Sear: Start the roast in a low oven and finish it with a high-heat sear for a crispy exterior.
- Use a Rack: Cooking the roast on a rack allows hot air to circulate around it, leading to more even cooking.
Cooking a standing rib roast is a culinary art that becomes easier with practice. Use this cooking times chart to guide you, and don’t forget the importance of resting and seasoning to get the flavors just right.
For more expert tips on roasting times, consider checking out Serious Eats or Food Network. These sites offer extensive resources to help you master the art of cooking.
Factors Affecting Cooking Times for Standing Rib Roast
When it comes to crafting the perfect standing rib roast, understanding the various factors that influence cooking times is essential. For an entertaining meal that impresses your guests, it is important to consider several key elements that can affect how your roast turns out.
Size of the Roast
The weight of your standing rib roast significantly impacts cooking time. A larger roast requires more time in the oven compared to a smaller one. Generally, you can expect the following approximate cooking times per pound for a medium-rare finish:
| Weight (lbs) | Cooking Time (minutes per pound) |
|---|---|
| 2-4 | 20-25 |
| 5-7 | 15-20 |
| 8-10 | 12-15 |
To find the total cooking time, multiply the weight of the roast by the appropriate cooking time per pound. For instance, an 8-pound roast will require about 96-120 minutes for medium-rare.
Desired Doneness
How well you want your roast cooked is another crucial factor. Cooking times vary based on whether you prefer it rare, medium, or well-done. Here is a quick guide to doneness temperatures:
- Rare: 120-125°F
- Medium Rare: 130-135°F
- Medium: 140-145°F
- Medium Well: 150-155°F
- Well Done: 160°F and above
Keep in mind that the roast continues to cook once removed from the oven, a phenomenon known as carryover cooking. Therefore, you may want to take it out when it is about 5-10°F below your target temperature.
Cooking Method
The cooking method also plays a vital role in determining timings. Roasting at a high temperature will produce a more crusty exterior but may require shorter cooking times, while slow-roasting allows for even cooking throughout. Here are two popular methods:
- High-Temperature Roasting: Start at a temperature of 450°F for the first 20-30 minutes to form a crust, then lower to 325°F for the remainder.
- Low and Slow: Maintain a consistent temperature of around 325°F throughout the cooking process.
Oven Calibration
Every oven operates differently. It is essential to have an accurate oven temperature. Use an oven thermometer to check the actual temperature and adjust as necessary. Oven calibration can significantly affect cooking times; an oven that runs cooler will need extended cooking time, while a hotter oven may overcook the roast.
Resting Time
Once cooking is complete, your roast should rest for at least 20 to 30 minutes before slicing. This allows the juices to redistribute, leading to a more flavorful and moist outcome. Failing to allow proper resting time can result in dry meat.
Bone-in vs. Boneless
A bone-in standing rib roast typically takes longer to cook than a boneless counterpart. The bone acts as an insulator, requiring additional time for even cooking. Be aware of this distinction when planning your meal and adjusting the cooking time accordingly.
Knowing the factors that affect the cooking time of your standing rib roast means you can achieve the perfect meal for your next gathering. For complete success, keep an eye on the oven and use a meat thermometer to check your roast’s doneness. Planning ahead based on size, doneness preference, cooking method, and resting can elevate your cooking game.
For more tips on cooking times and methods for standing rib roast, visit Serious Eats or check out Food Network for further insights on techniques and recipes.
Different Cooking Methods for Standing Rib Roast: Pros and Cons
When it comes to cooking a standing rib roast, various methods can yield delicious results, each with its unique pros and cons. Whether you’re preparing for a festive gathering or a Sunday dinner, understanding these methods can help you achieve the perfect roast for your needs. Below, we explore several popular cooking techniques.
Oven Roasting
Oven roasting is perhaps the most traditional method for preparing a standing rib roast, cherished for its straightforward approach and reliable results.
- Pros:
- Even cooking throughout the roast, leading to a uniform crust.
- Allows for great flavor development and the ability to baste regularly.
- Simple to monitor with a meat thermometer to ensure desired doneness.
- Cons:
- Can take several hours, depending on the size of the roast.
- If not monitored closely, it can overcook quickly.
- Requires adequate oven space, which may be a concern during the holidays.
Reverse Searing
This technique involves cooking the roast at a low temperature in the oven first, followed by a quick sear on the grill or in a hot pan to create a crust.
- Pros:
- Results in a tender roast with a beautifully browned crust.
- Ensures an even distribution of doneness with less risk of overcooking.
- Creates a nice crust without drying out the meat.
- Cons:
- Time-consuming as it requires both oven and grill or pan.
- Requires careful temperature monitoring to get it just right.
- Less effective for those who prefer a more traditional quick roasting process.
Sous Vide Cooking
Sous vide is a method that involves vacuum-sealing the roast in a bag and cooking it in a water bath at a precisely controlled temperature.
- Pros:
- Gives precise control over doneness, resulting in perfectly cooked meat.
- Prevents moisture loss, keeping the roast juicy and tender.
- Can be prepared in advance and finished quickly before serving.
- Cons:
- Special equipment is required, which may not be readily available.
- Can be a lengthy process, taking hours at low temperatures.
- Requires a finishing step for crust, often needing additional cooking time.
Grilling
Grilling adds a smoky flavor and a unique touch that can elevate a standing rib roast.
- Pros:
- Imparts a wonderful smokiness and flavor from the grill.
- Ideal for outdoor cooking, making it perfect for warm weather gatherings.
- Can produce a great crust quickly, especially over hot coals.
- Cons:
- Can lead to uneven cooking if not monitored closely.
- Weather conditions can impact grilling effectiveness.
- Requires more active cooking time and attention.
With these methods, you can choose based on your preferences, time constraints, and desired flavor profiles. No matter which way you decide to cook, ensuring proper temperature control and understanding the characteristics of each technique will help you serve a mouthwatering standing rib roast. For more information on cooking times and techniques, you can visit Serious Eats or check out detailed guides at Food Network.
| Cooking Method | Cooking Time | Ideal Temperature |
|---|---|---|
| Oven Roasting | 15-20 minutes per pound | 325°F (163°C) |
| Reverse Searing | Approximately 60 minutes at 225°F (107°C), plus searing time | 225°F (107°C) then high heat for searing |
| Sous Vide | 6-8 hours (at lower temps) | 131°F (55°C) to 140°F (60°C) |
| Grilling | Varies based on thickness; about 10-15 minutes per pound | Medium-high heat, around 350°F (177°C) |
How to Use a Meat Thermometer for Accurate Standing Rib Roast Cooking
When preparing a standing rib roast, precision is key to achieving the ideal tenderness and flavor. A meat thermometer is an essential tool that helps ensure your roast reaches the desired doneness without overcooking. Understanding how to effectively use a meat thermometer can elevate your cooking experience and guarantee a perfect roast every time.
To start, you’ll want to select the right type of meat thermometer. Common options include instant-read thermometers, probe thermometers, and digital thermometers. Each has its unique characteristics:
- Instant-Read Thermometers: Perfect for quick checks, these provide a reading in just seconds. Ideal for those who prefer to check the temperature a few times while cooking.
- Probe Thermometers: Typically left in the meat throughout the cooking process, these provide continuous monitoring of the temperature. This allows you to avoid opening the oven frequently.
- Digital Thermometers: These come with a display that shows the temperature quickly. Some may even have alarms to notify you when the desired temperature is reached.
Before cooking, it’s important to know the correct temperature ranges for a standing rib roast. Here’s a quick reference chart for doneness preferences:
| Doneness | Temperature (°F) |
|---|---|
| Rare | 120-125 |
| Medium Rare | 130-135 |
| Medium | 140-145 |
| Medium Well | 150-155 |
| Well Done | 160+ |
To use a meat thermometer effectively, follow these steps:
- Prepare Your Roast: Allow the standing rib roast to come to room temperature for about 30-60 minutes before cooking. This helps ensure even cooking.
- Insert the Thermometer: Insert the thermometer into the thickest part of the roast, making sure not to touch the bone. Bones conduct heat, which can give you an inaccurate reading.
- Monitor the Temperature: If you’re using a probe thermometer, keep an eye on the cooking process. If you have an instant-read thermometer, check the temperature during the last 30 minutes of cooking.
- Know When to Remove: Refer to your temperature chart and remove the roast from the oven when it reaches about 5-10°F below your desired doneness. The roast will continue to cook while it rests.
- Resting Time: Allow the roast to rest for at least 15-20 minutes before slicing. This helps the juices redistribute, ensuring a juicy and flavorful meal.
Properly using a meat thermometer requires attention to detail and a little practice, but the results are well worth the effort. For more tips on culinary techniques, visit Serious Eats to explore a variety of methods and insights.
Another useful resource is Cooking Light, offering valuable information on roasting techniques that can enhance your standing rib roast experience.
Always remember that even the best cuts of meat require your attention. By utilizing a meat thermometer correctly, you can ensure your standing rib roast is cooked to perfection every time. Don’t shy away from experimenting with doneness levels to find your favorite, and enjoy the savory experience of a well-cooked roast!
Best Side Dishes to Serve with Standing Rib Roast for a Complete Meal
When planning a feast featuring a standing rib roast, it’s important to consider the perfect side dishes that not only complement the rich flavor of the roast but also create a well-rounded, memorable dining experience. Here are some excellent side options that will elevate your meal, ensuring each bite is a delight.
Classic Pairings
A standing rib roast is a true centerpiece, and pairing it with traditional sides can enhance its flavors beautifully. Here are some time-tested accompaniments:
- Garlic Mashed Potatoes: Creamy and buttery, mashed potatoes infused with garlic add a comforting texture and complement the savory roast.
- Yorkshire Pudding: This fluffy, baked pastry is a classic side that soaks up the roast’s juices, making every bite even more delicious.
- Roasted Brussels Sprouts: Their unique flavor marries well with beef, especially when roasted to crispy perfection with a drizzle of balsamic glaze.
Vegetable Accompaniments
Adding a variety of vegetables not only complements the meal visually but also adds freshness and balance to rich flavors. Consider these options:
- Glazed Carrots: Sweet and tender, glazed carrots with honey or maple syrup provide a delightful contrast to the savory roast.
- Asparagus with Lemon Zest: Lightly steamed or roasted asparagus topped with lemon zest gives a bright, refreshing flavor that pairs wonderfully.
- Green Beans Almondine: Sautéed green beans topped with toasted almonds add a crunch and extra flavor that works well with beef.
Salads for Freshness
A salad can lighten up your meal. Here are some fresh salads to consider:
- Classic Caesar Salad: Crisp romaine, creamy dressing, and crunchy croutons complement the richness of the rib roast.
- Wedge Salad: A simple yet satisfying wedge of iceberg lettuce topped with blue cheese dressing and bacon bits offers a crunchy texture.
- Arugula Salad: A peppery arugula salad with sliced pears and walnuts dressed in a light vinaigrette adds sophistication.
Sauces to Enhance Flavor
Consider offering sauces that can elevate the standing rib roast experience. Here are a few to think about:
| Sauce | Description |
|---|---|
| Horseradish Cream Sauce | A zesty and creamy sauce that brings a spicy kick to each bite of roast. |
| Red Wine Reduction | This rich sauce adds depth and a touch of luxury, enhancing the roast’s natural flavors. |
| Mustard Sauce | A tangy mustard sauce provides a great contrast to the richness of the meat. |
Starch Options
Including hearty starches can help fill out the meal and provide satisfying textures. Here are some great choices:
- Roasted Potatoes: Seasoned and crispy roasted potatoes are a simple yet delightful option.
- Herb Rice Pilaf: Light and fragrant, this rice dish adds a nice flavor profile without overpowering.
- Polenta: Creamy polenta topped with Parmesan is a comforting alternative that pairs beautifully with the roast.
Desserts to End the Meal
Don’t forget dessert! A sweet finish is the perfect way to round off a satisfying meal. Consider these choices:
- Chocolate Mousse: Light and airy, this decadent treat is a great way to end the meal.
- Cheesecake: A creamy cheesecake with a berry topping adds a refreshing touch.
- Apple Pie: Classic apple pie with vanilla ice cream is always a crowd-pleaser.
For more information on perfect side combinations for your standing rib roast, check out Fine Cooking and Food Network.
If you’re hosting a special gathering or simply looking to create an impressive meal, these side dishes will surely impress your guests and create an unforgettable dining experience. From classic purées to vibrant salads and flavorful sauces, each component works together to celebrate the heartiness of the standing rib roast.
Conclusion
Perfecting your standing rib roast is easier than ever with a comprehensive cooking times chart and an understanding of the various factors that can influence those times. Remember, the quality of your roast depends not only on the cooking method you choose but also on variables such as the roast’s size, starting temperature, and your desired doneness level.
Whether you choose to roast it slowly in an oven or sear it first before finishing it low and slow, each method carries its own unique benefits and drawbacks. It’s important to evaluate what works best for you and your kitchen environment. A reliable meat thermometer will serve as your best ally, enabling you to gauge the internal temperature of the roast accurately. This tool will take the guesswork out of cooking, ensuring your roast reaches the perfect doneness, from rare to well done.
To elevate your meal further, pair your standing rib roast with delicious side dishes that complement its rich flavors. Options like creamy mashed potatoes, roasted vegetables, or a fresh salad can create a balanced and satisfying dining experience.
By mastering the cooking times chart, understanding the factors at play, and choosing the right cooking method and sides, you’ll serve up a standing rib roast that earns you rave reviews. Enjoy the art of roasting and the delicious rewards that come from it!